| Solveig Harren
How to Properly Store Your Handcrafted Wooden Toboggan Products
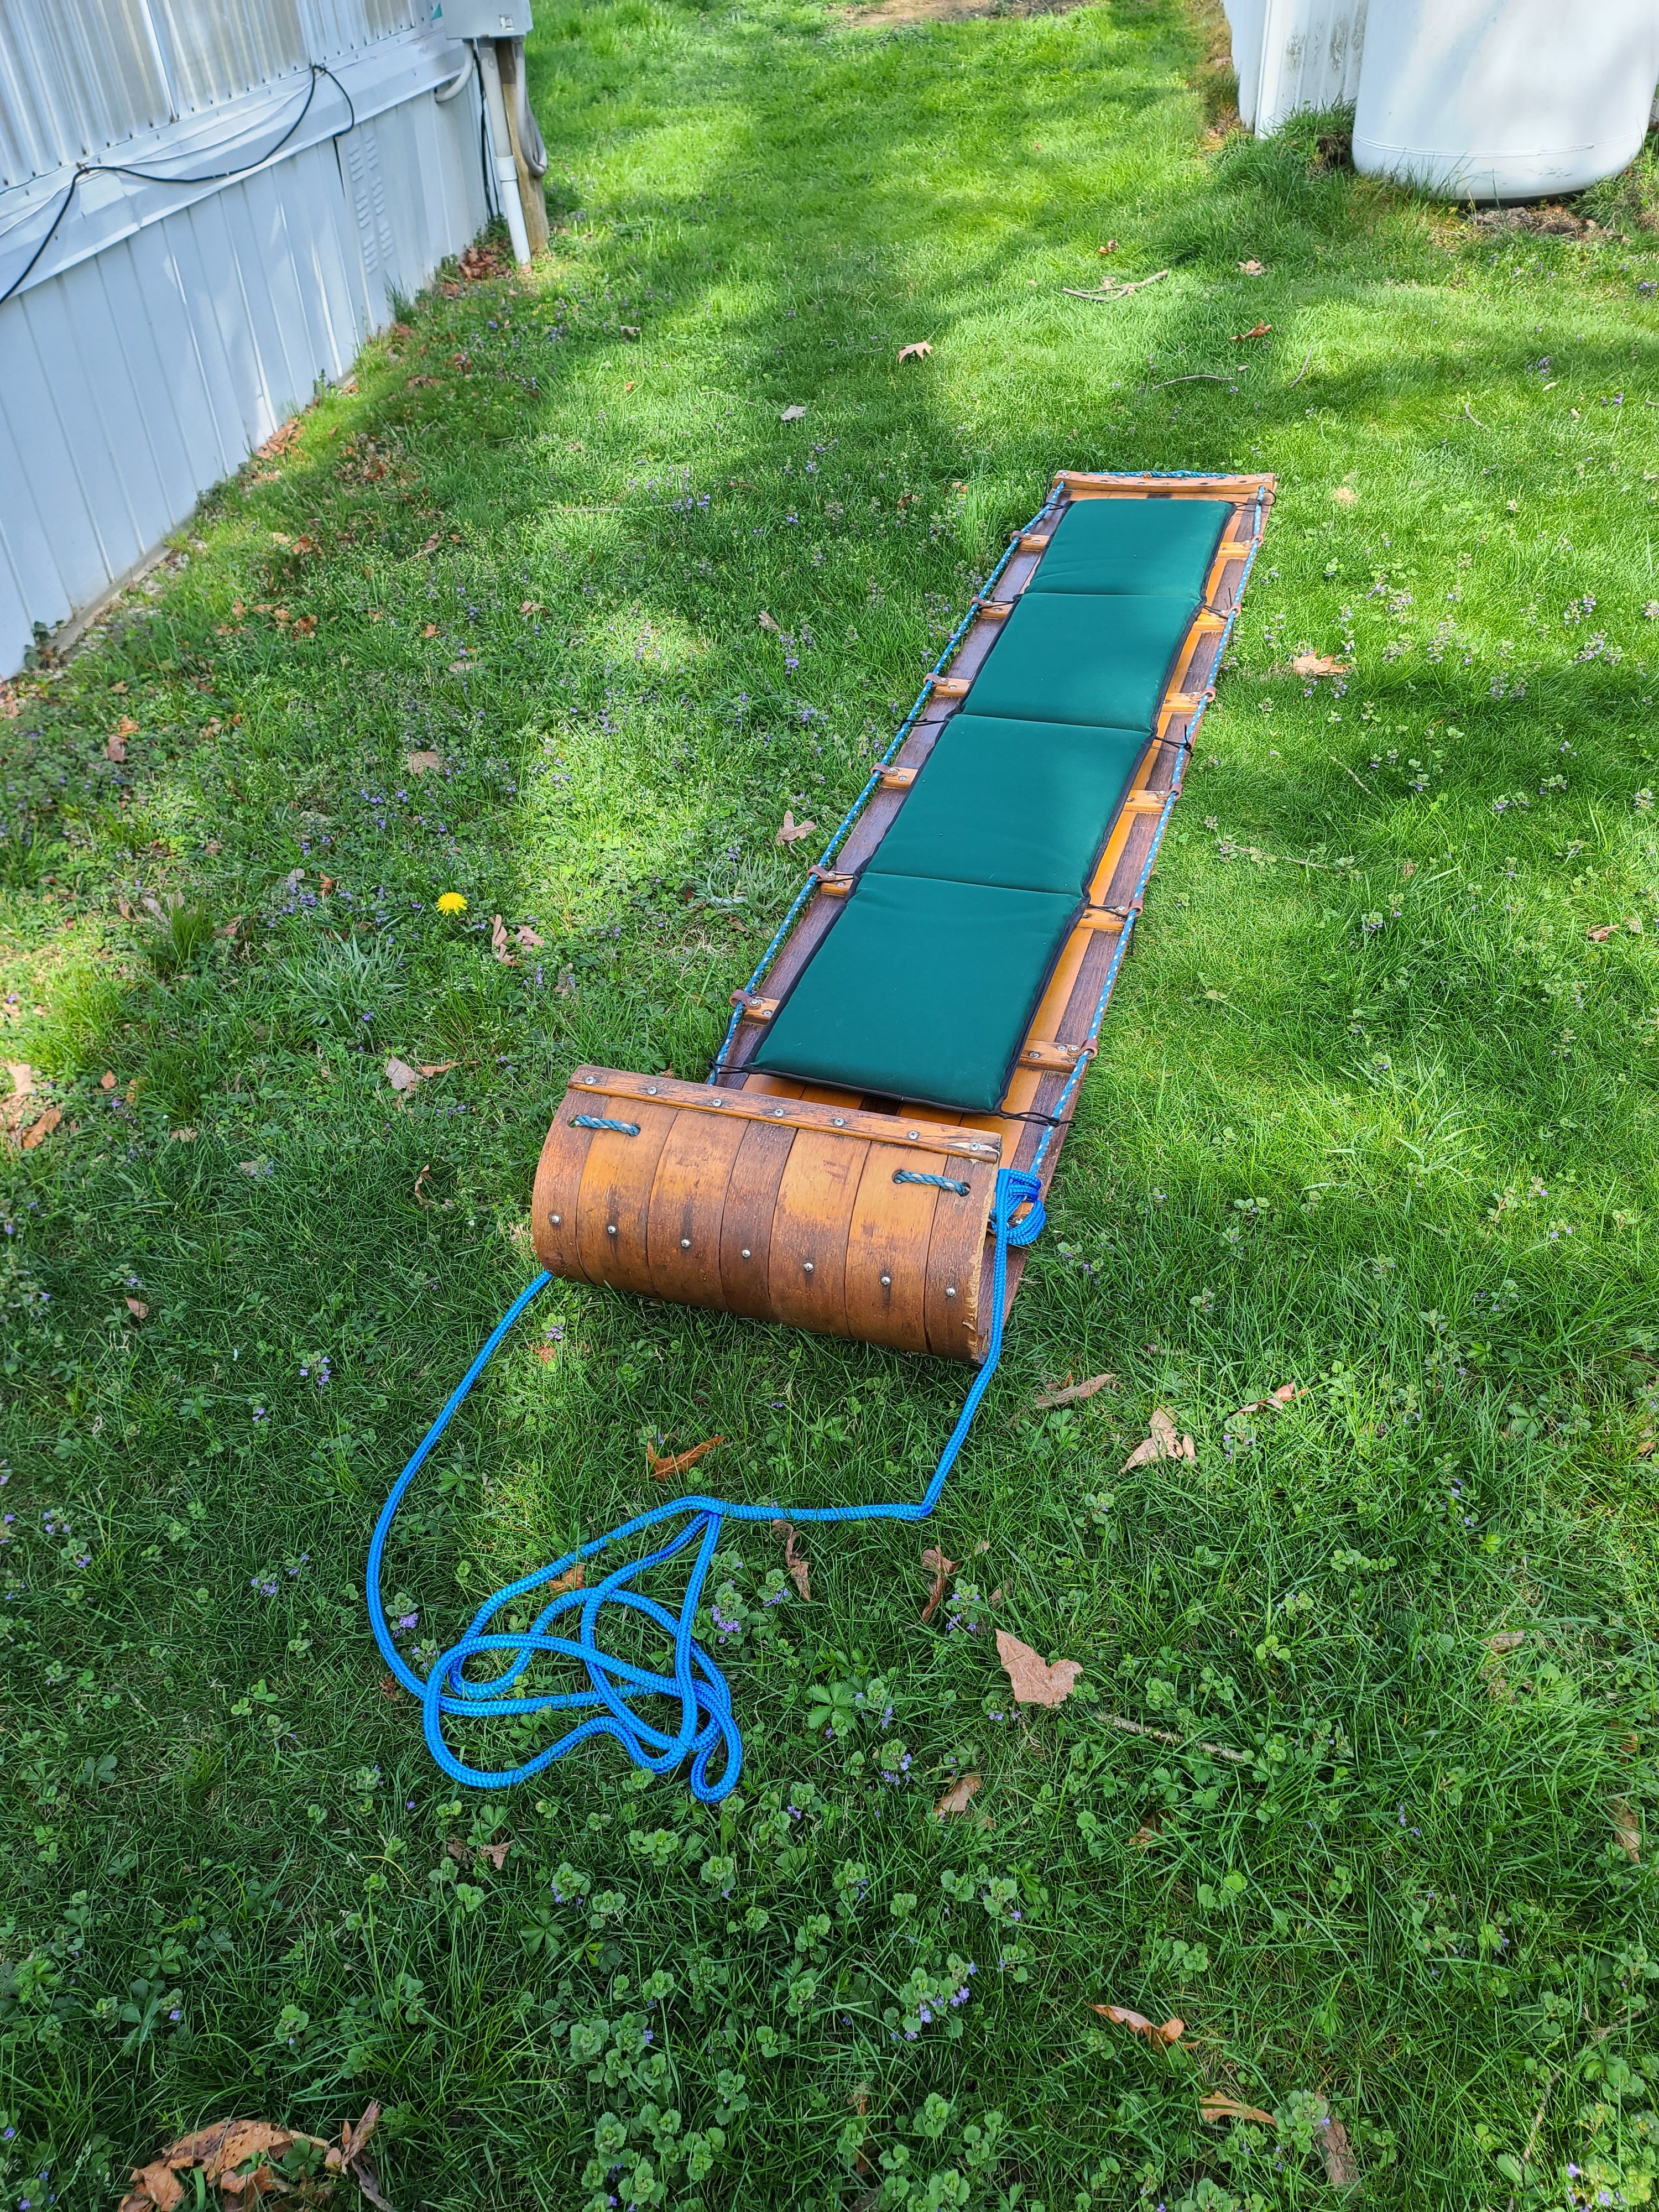
We received an email the other day from one of our winter friends. They posed a question we often hear: “Now that spring is here, how do I properly store my handcrafted wooden toboggan until next winter?”
Here are a few recommendations from our team on how to best store your handcrafted wooden sleds and toboggans and their cushions:
Wooden Sleds and Toboggans
- They like to “breathe.” Just like the natural tree from which they are made, they like to breathe with the season and not be in a climate controlled environment, which can cause the wood to dry out and make it more susceptible to cracks and breaks. Please keep this in mind when determining your storage location.
- Before storing, take the time to gently wipe off any dust or debris. You may also want to consider using a tarp or old sheet to wrap your sled or toboggan in to keep dust and any other substances off of your heirloom (i.e. bird or small creature droppings if you are storing in an outdoor shed).
- Up, down, left, or right? We have stored our sleds and toboggans in many directions. Standing up vertical with the curl leaning against a wall, hanging horizontally with straps/bungees/wall mounts and laying flat. No matter the direction you choose, keeping your sled or toboggan off the ground is recommended so the wood isn’t directly in contact with cement, gravel, or another surface that could cause damage or hold excessive moisture. A pallet or something similar is a good option.
Cushions
- Remove the cushion and gently wipe off any dust or debris.
- Check the seams (edges) of your cushion for any areas that may need a little TLC. A needle, thread, and thimble may be needed for a quick stitch fix.
- You may want to consider using some type of container for storage to keep dust and/or small creature droppings out.
- Store out of the sun and extreme temperatures to extend the life of the fabric and foam.
If your sled or toboggan is in need of a light refinishing, read our Sled Maker’s Journal Blog Tips for a Quick Touchup.

